How can I build a software? The ability to create software isn’t just a skill. It’s a superpower in today’s tech-driven world. Whether you want to build a tool that saves businesses time, an app that entertains millions, or a solution that solves real-world problems, software development opens endless doors.
But let’s be honest. Starting from scratch can feel overwhelming. You have a great idea, but how do you turn it into actual software? Do you need a proper software development team? What tools should you use?
Don’t worry. In this guide, we will walk you through the process step by step. From understanding the basics to building your first application, we’ll help you simplify the chaos and focus on what matters most. By the end, you won’t just know “how do I make software.” You’ll be well on your way to making it happen. Let’s dive in!
Key Takeaways
- Identify the problem: Research your target audience and prioritize essential features for an MVP.
- Choose a programming language: Select frameworks and tools that align with your project type and goals. Plan a scalable architecture.
- Design and prototype: Create wireframes, test usability, and write clean, modular code for the frontend and backend.
- Test thoroughly: Ensure functionality, performance, and security. Fix bugs efficiently.
- Launch and maintain: Deploy on suitable platforms, monitor performance, and update based on user feedback.
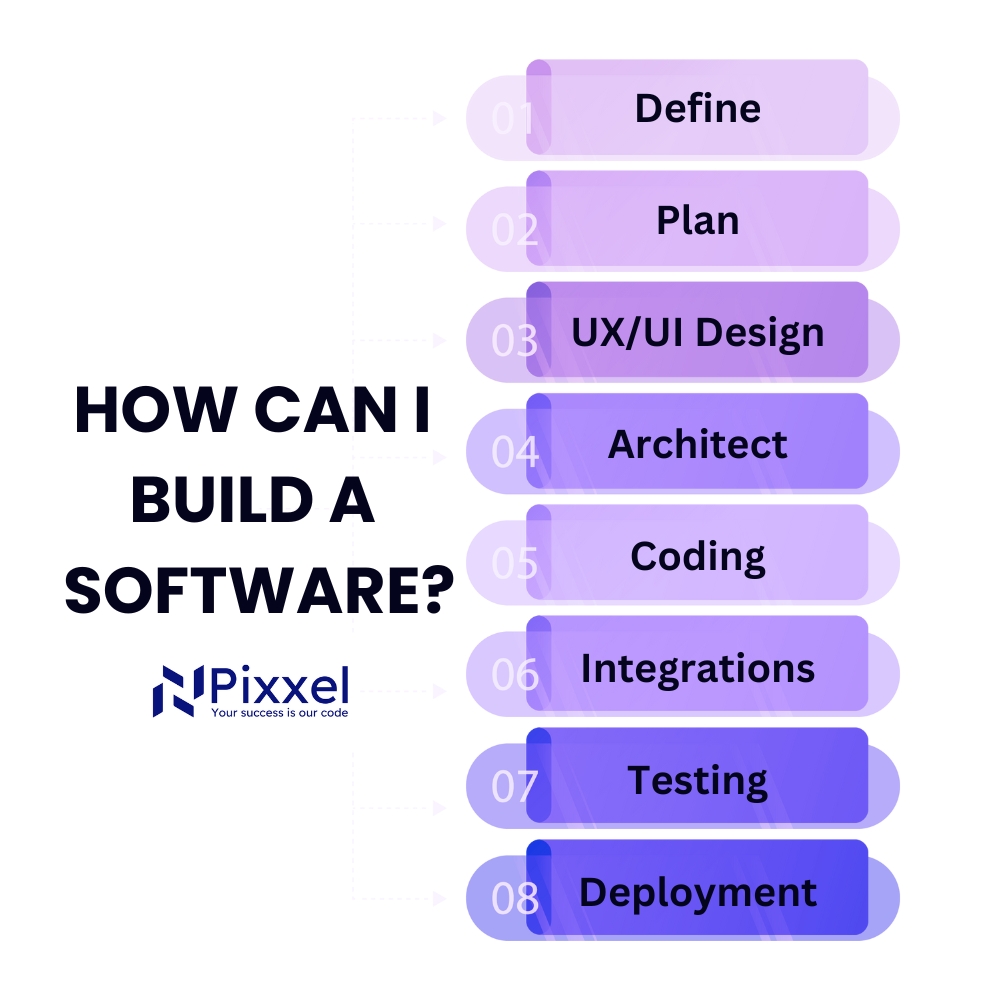
Key 8 steps to software development
A successful software development team typically includes roles such as a project manager, business analyst, UX/UI designers, front-end and back-end developers, QA testers, and DevOps specialists. Depending on the project’s specific needs, additional experts like data scientists or 3D designers may also be involved.
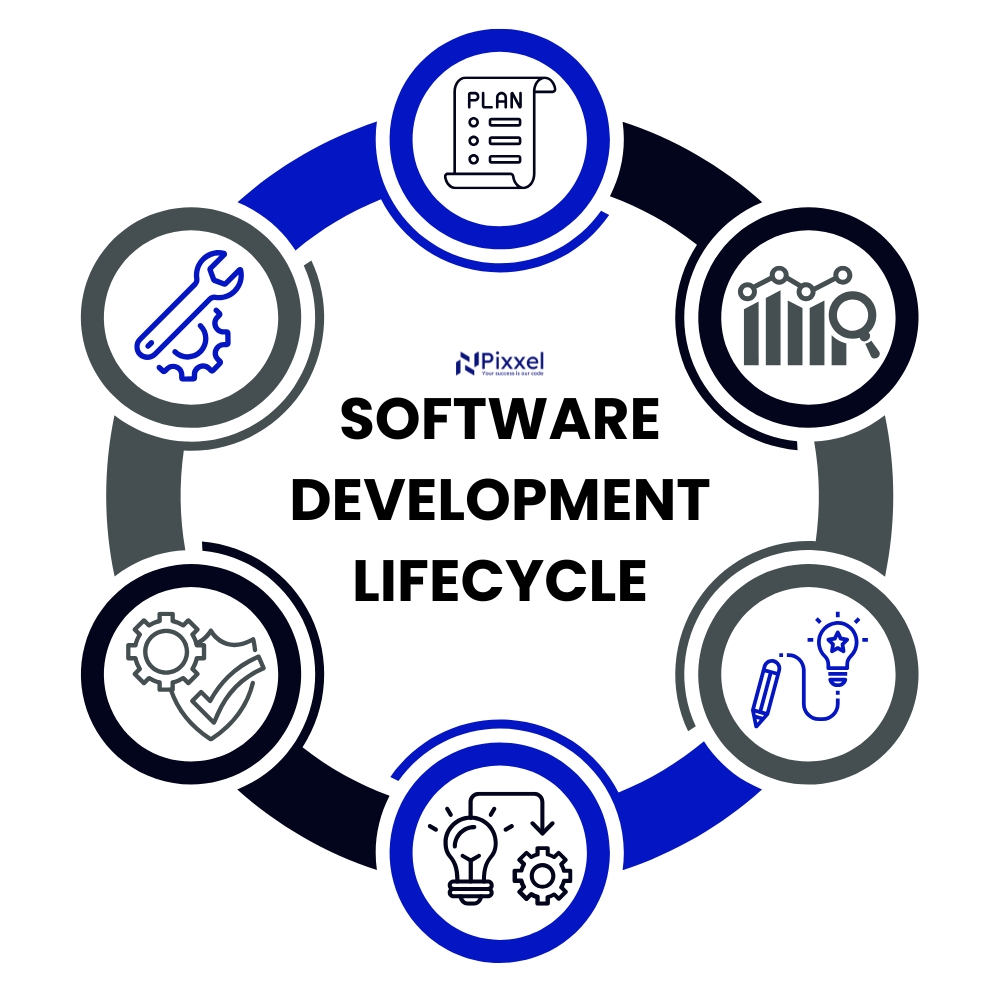
Understanding the Basics of Software Development
Before jumping into building software, you need to understand what software development is. This will give you a clear picture of what you’re diving into and help you make informed decisions along the way.
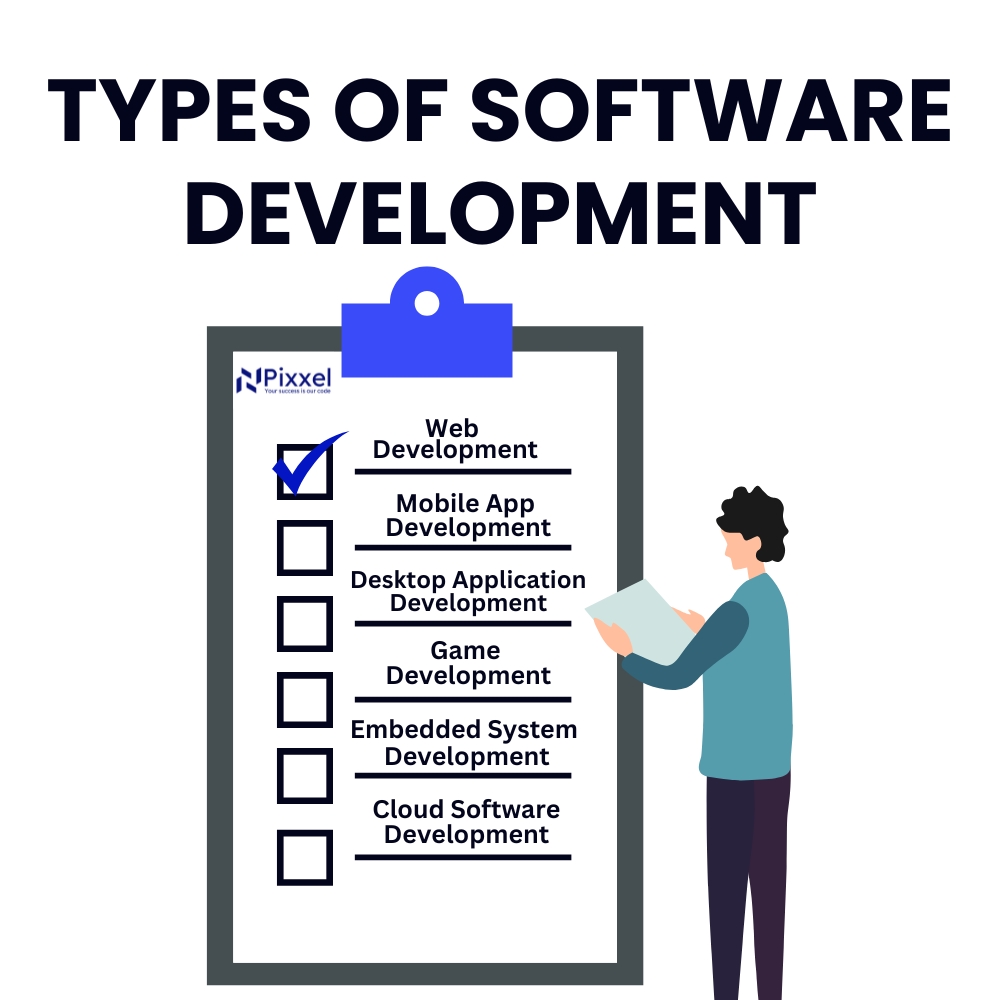
Software development is about creating programs or applications that solve problems, entertain, or make life easier. It involves thinking about what people need, designing how the software will work, and writing instructions (code) to make it function. There are also many different software development types.
At Pixxel Solutions, we follow a number of core steps to ensure that the end product is according to our needs and requirements.
Step 1: How to Define Your Software’s Purpose and Audience
When defining our software’s purpose, we:
- Identify the problem it will solve
- Research our target audience
- Prioritize key features
This foundational step helps us determine that our solution aligns with user needs and sets the stage for a successful development process.
How to Identify the Problem Your Software Will Solve
We start by asking ourselves what problem we are dealing with, and how can I make a tailored software solutions that can solve that problem. This includes thinking about what frustrates people or slows them down in a particular area. We research competitors to understand what solutions already exist.
Apart from that, we study reviews of similar software to find complaints or unmet needs. We can talk to potential users about their pain points. And lastly, we write down a clear problem statement.
Expert Tip: If you already have a potential idea, understanding the problem and its pain points is still crucial because actually solving the problem should be your first priority. Even if you have an idea, think about the end result—what your idea truly solves. There are 100 different ways to solve a problem or bring an idea to life. Focus on the end result, not the process.
How to Research Your Target Audience
We try to learn as much as possible about the people who will use our software. Asking questions like: Who are they? What devices do they use? What’s their level of technical skill? helps us understand them better. We also can conduct surveys or interviews to gather insights directly from them.
To understand broader trends, we use tools like Google Trends, Semrush, news or social media demographics. And then we create user personas, which are fictional profiles representing our target audience, to guide our development choices.
How to Prioritize Features for Your Software
Our way of prioritizing features for our software are by making a list of all the features our client would like to include, then give them a priority scale. We focus on solving the primary problem first—don’t try to do everything in one go.
We rank features based on user needs and feasibility. Our team also use a scoring system, like assigning points for impact and complexity, to decide which features to include in the Minimum Viable Product (MVP).
Step 2: Prepare a Project Plan
A solid project plan is the foundation of building great software. It outlines your goals, timelines, and resources, and gives you a clear path to follow. Think of it as your software’s blueprint.
- Create a detailed roadmap that acts as your software’s foundation.
- Define the goals, scope, and success measures to ensure clarity and focus.
- Break the project into manageable steps, assign tasks, and track progress.
Decide on the Software’s Purpose and Design
Think about what your software will do and who it’s for. Choose whether it will be a mobile app, a web tool, or a desktop program. Picture how it will look and work. Add features to solve real problems and make sure they’re easy to use. If your project is innovative, you might include tools like AI or IoT to make it even smarter. Plan how these features will connect and work together.
Define Goals, Deliverables, and Success Metrics
Be clear about what you want to achieve. Set goals that guide the project and show what success looks like. Deliverables are the specific outcomes you’ll produce, like a working app or a set of reports. Success metrics are your way of knowing you’ve hit the mark—things like more users, faster processes, or better customer feedback.
Map Out Milestones and Tasks
Divide the project into smaller, manageable parts. Set milestones, which are the big steps toward completing the project. Under each milestone, list the tasks that need to be done. Assign these tasks to your team and set realistic deadlines. Tracking each step will help you stay organized and motivated.
Step 3: Designing UI/UX for Your Software
Design is just as important as functionality. Good software should be easy to use and visually appealing.
- Create wireframes to plan the layout and structure of your software.
- Turn wireframes into interactive prototypes to test user flow and functionality.
- Focus on simplicity and accessibility to make your design user-friendly and inclusive.
Creating Wireframes and Prototypes
A wireframe is like a blueprint for your software. It shows where everything will go, like buttons, menus, and text.
We start by sketching our ideas on paper or using tools like Figma or Sketch. The wireframe shows the basic structure of our software, like where buttons, menus, and text fields will go. Once our wireframe looks good, we turn it into an interactive prototype to test the user flow.
Prototypes take it a step further by adding functionality to our design. We start simple and adjust as we move forward with the project.
Designing for Usability and Accessibility
Our design process is gradual. We take it step-by-step to avoid overloading our interface with too many elements. We ensure buttons and text are easy to see and use.
Our team also follows accessibility guidelines, like using alt text for images and ensuring our software can be navigated with a keyboard. Tools like WAVE or Axe help us test for accessibility issues.
Testing and Refining the User Experience
One way of testing is to share your prototype with real users and ask them to complete tasks while you observe. Look for areas where they get stuck or confused.
We normally use their feedback to refine the layout, colors, and interactions. We repeat this process until our design feels intuitive and efficient.
Step 4: Architect the Software
Once your software’s design is ready, it’s time to create a solid foundation by architecting the software. Software architecture acts as a blueprint, defining how different components of your software will interact and function.
- Choose the right architecture to ensure your software is scalable and flexible for future growth.
- Pick a tech stack that fits your needs, including frontend, backend, and database tools.
- Select programming languages based on the type of software and long-term requirements.
How to Choose the Right Software Architecture
The architecture of our software determines how its components interact. We begin by analyzing our software’s requirements.
We think about scalability, ease of updates, and our team’s familiarity with the architecture style. Our main priority is flexibility so our software can grow as user demands increase.
How to Select the Right Tech Stack
Your tech stack includes the tools, languages, and frameworks you’ll use to build the software. We divide our tech stack into three layers:
- Frontend: Choose tools like React or Angular for user interface development.
- Backend: Opt for frameworks like Node.js or Django for server-side logic.
- Database: Use relational databases like MySQL for structured data or NoSQL databases like MongoDB for flexible, unstructured data.
Some Tips for Choosing Your Programming Language
The type of software you’re building often dictates the language you should use:
- For web apps, JavaScript is a must for the front end. Pair it with backend languages like Python, Ruby, or Node.js.
- For mobile apps, Swift is ideal for iOS, and Kotlin or Java works well for Android.
- For desktop software, C# and Java are reliable options.
Think about the long-term. If your project needs scalability, choose a language that’s versatile and widely supported.
How to Plan Component Interaction and Integration
After selecting our architecture and tech stack, we focus on how different parts of our software will interact.
- This includes defining APIs (Application Programming Interfaces) that enable communication between the frontend and backend.
- We use tools to document our APIs clearly.
- For integration, we decide whether to use middleware or direct connections depending on the project type. Middleware is useful when multiple systems need to communicate, as it simplifies interactions.
Step 5: Write a Clean and Efficient Code
Writing clean and efficient code is essential to ensure that everything runs smoothly for you.
- Break your project into smaller, manageable tasks or modules for easier development.
- Use meaningful names for variables and functions, and include comments to explain your logic.
- Test and debug each piece of code as you go to catch and fix issues early.
How to Break Your Code into Manageable Pieces
We divide your project into smaller tasks or modules. For example, if we’re building a to-do list app, we write separate code for adding tasks, deleting tasks, and marking tasks as complete. This makes it easier to test and debug our software.
Keep Your Code Clean
We follow consistent naming conventions for variables and functions. Instead of x, we name our variable something meaningful like userAge.
We also use comments to explain why we’re doing something, not just what we’re doing. This helps others understand our code.
Test and Debug as You Go
We never wait until the end to test our software. We test each function or module as we finish it, and normally use built-in debugging tools in our IDE to find and fix errors quickly.
Step 6: Establish Integrations
Integrations allow your software to connect with other tools and systems. This is what makes it work smoothly and share data. Without them, your software may feel incomplete.
- Build connections between your software and essential tools or systems.
- Ensure smooth data flow from external sources to enhance your software’s functionality.
- Add compatibility with third-party services and hardware for a seamless user experience.
Link Up with Business Tools
Many businesses depend on software like customer management systems or accounting tools. If your software will work alongside these, make sure the connection is secure and reliable. This lets your users move data back and forth without any issues. For example, syncing with a CRM means customer information stays up to date everywhere.
Connect to Data Sources
If your software relies on external data, build a bridge to those sources. For instance, a weather app might need live weather updates, or a fitness app might track calories from a food database. These connections ensure the software has accurate and timely data. Double-check the reliability and security of these sources to avoid disruptions.
Add Third-Party Services and Devices
Your software might need extras like payment gateways, messaging services, or hardware devices. Integrating these can make it more powerful and user-friendly. For instance, if it’s a fitness app, you might connect it with wearable devices. Ensure these connections are smooth and easy for users to set up and use. Always prioritize security to protect sensitive information.
Step 7: Test Your Software
List all the features your software has and create test cases for each one. For example, if you have a login screen, test for valid and invalid passwords.
- List all features and create test cases to ensure each one works as intended.
- Use automated tools to streamline testing and check performance under different conditions.
- Track and fix bugs efficiently by reproducing issues and isolating their causes.
How to Use Testing Tools Effectively
Testing tools help you save time and ensure thorough coverage. Automated tools like Selenium can run multiple scenarios quickly for web apps, while JUnit is great for Java programs.
Performance testing tools help you check how your software behaves when many users access it at once. These tools provide insights into potential weaknesses before your users experience them.
How to Fix Bugs Efficiently
Bugs can disrupt your software, but fixing them doesn’t have to be stressful. First, reproduce the bug to understand its cause. Add logs to your code to pinpoint where it’s failing.
Once you’ve identified the issue, fix it in a local version of your software. Test the fix thoroughly before rolling it out to the live environment. This approach minimizes risks and ensures a smooth user experience.
Step 8: Deploy Your Software
- Test your software in a staging environment to ensure it’s ready for real-world use.
- Provide clear instructions to help users install or navigate your software.
- Monitor performance and gather user feedback to make ongoing improvements.
Final Testing in a Staging Environment
Before going live, test your software in a setting that mimics real-world conditions. This staging environment helps you catch any last-minute issues and ensure smooth performance.
Run through all the features and test for unexpected crashes or errors. This step builds confidence in the reliability of your software.
Write User-Friendly Instructions
Good instructions make your software accessible to everyone. Create step-by-step guides or FAQs for installation and usage. Avoid overly technical language, and include visuals or videos when possible. The easier it is for users to understand, the more likely they are to enjoy your software.
Monitor Performance and Collect Feedback
Once your software is live, use monitoring tools like New Relic to track crashes and performance. These tools provide real-time data on how your software is functioning.
Encourage users to share feedback about their experience. Use this input to identify areas for improvement and plan updates that keep your software running smoothly.